If you want to use different fonts in your Windows system, you can follow these steps to install fonts:
1. Download the font file you want, usually in .ttf or .otf format.

5 free font download websites:
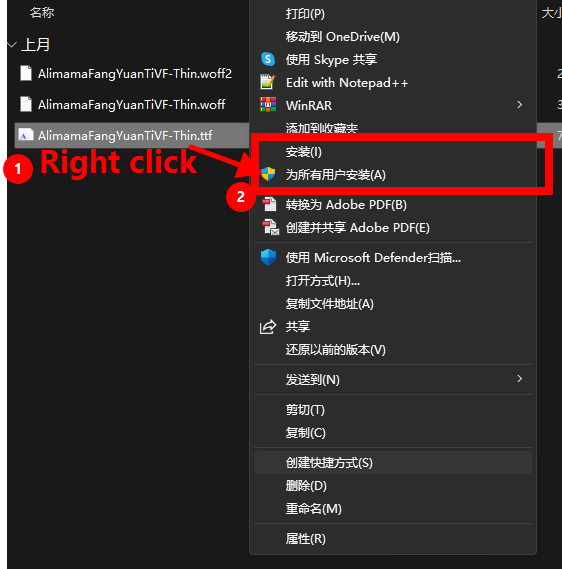
2. Right-click the font file and select “Install” or “Install for all users”.
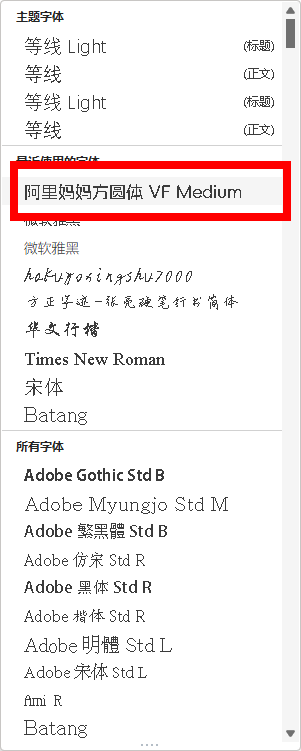
3. Wait for the font installation to finish, and you can use the new font in various applications.
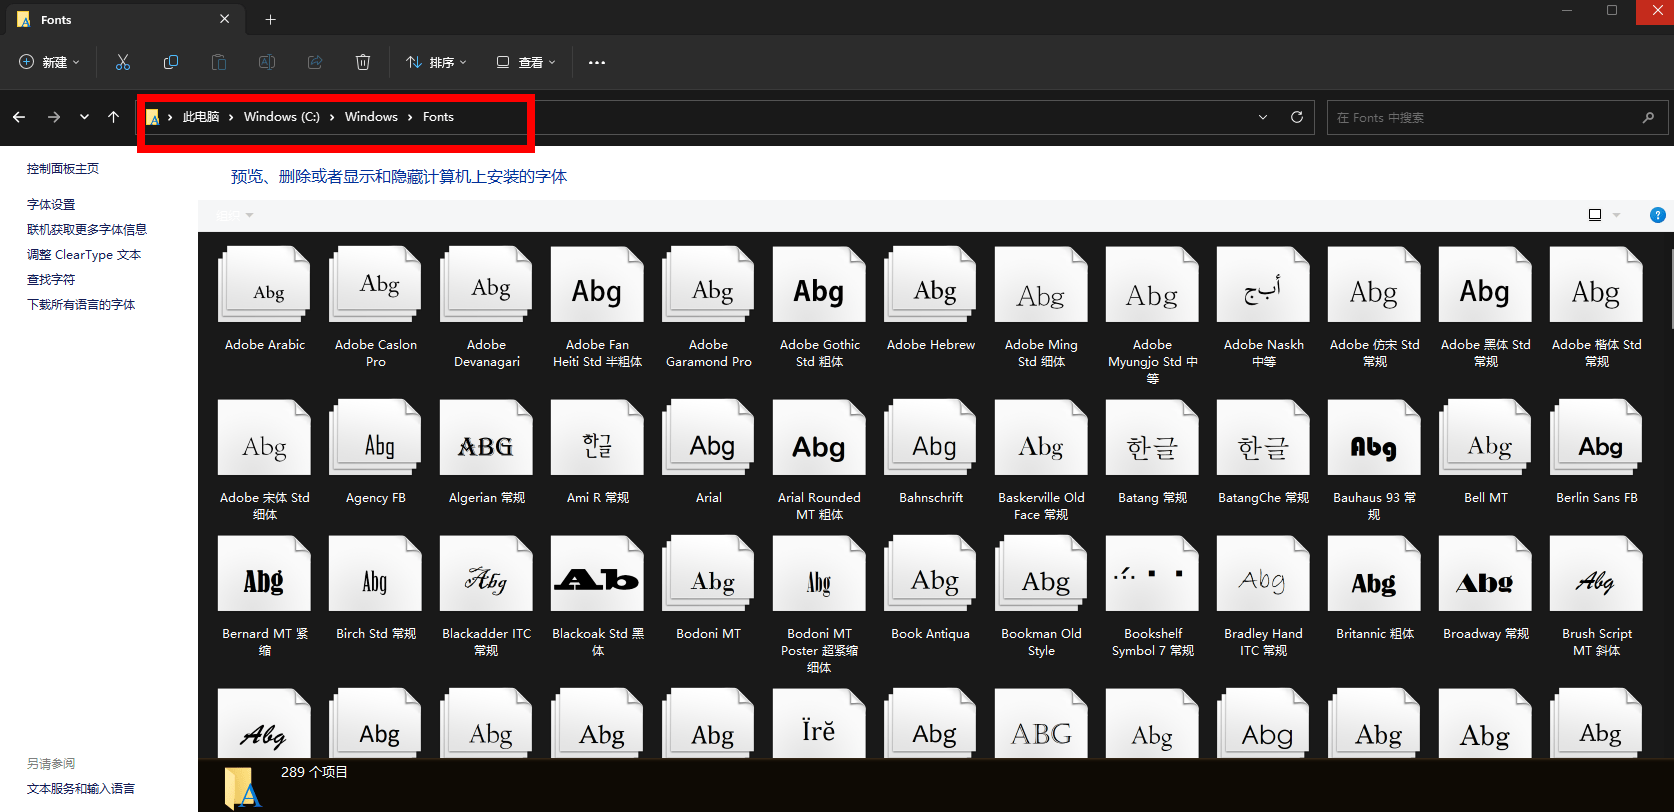
Note: If you want to remove the installed fonts, you can find the “Fonts” option in the Control Panel, then select the fonts you want to remove, right-click and select “Remove”.
Views: 132

Thanks for sharing this informative article! I’ve always wanted to customize the fonts on my Windows system, and these step-by-step instructions are really helpful. I’ll definitely give it a try and see if I can find some unique and beautiful fonts to make my documents stand out.
ChatGPT said:
This guide made the whole process of installing fonts on a Windows computer so simple and clear. I liked how it explained every step without being too technical. The part about using the Control Panel and right-click install options was especially useful.
It’s great for beginners who want to customize their text style for design projects or documents. The instructions are easy to follow, and it’s nice that it also mentions how to manage installed fonts afterward.